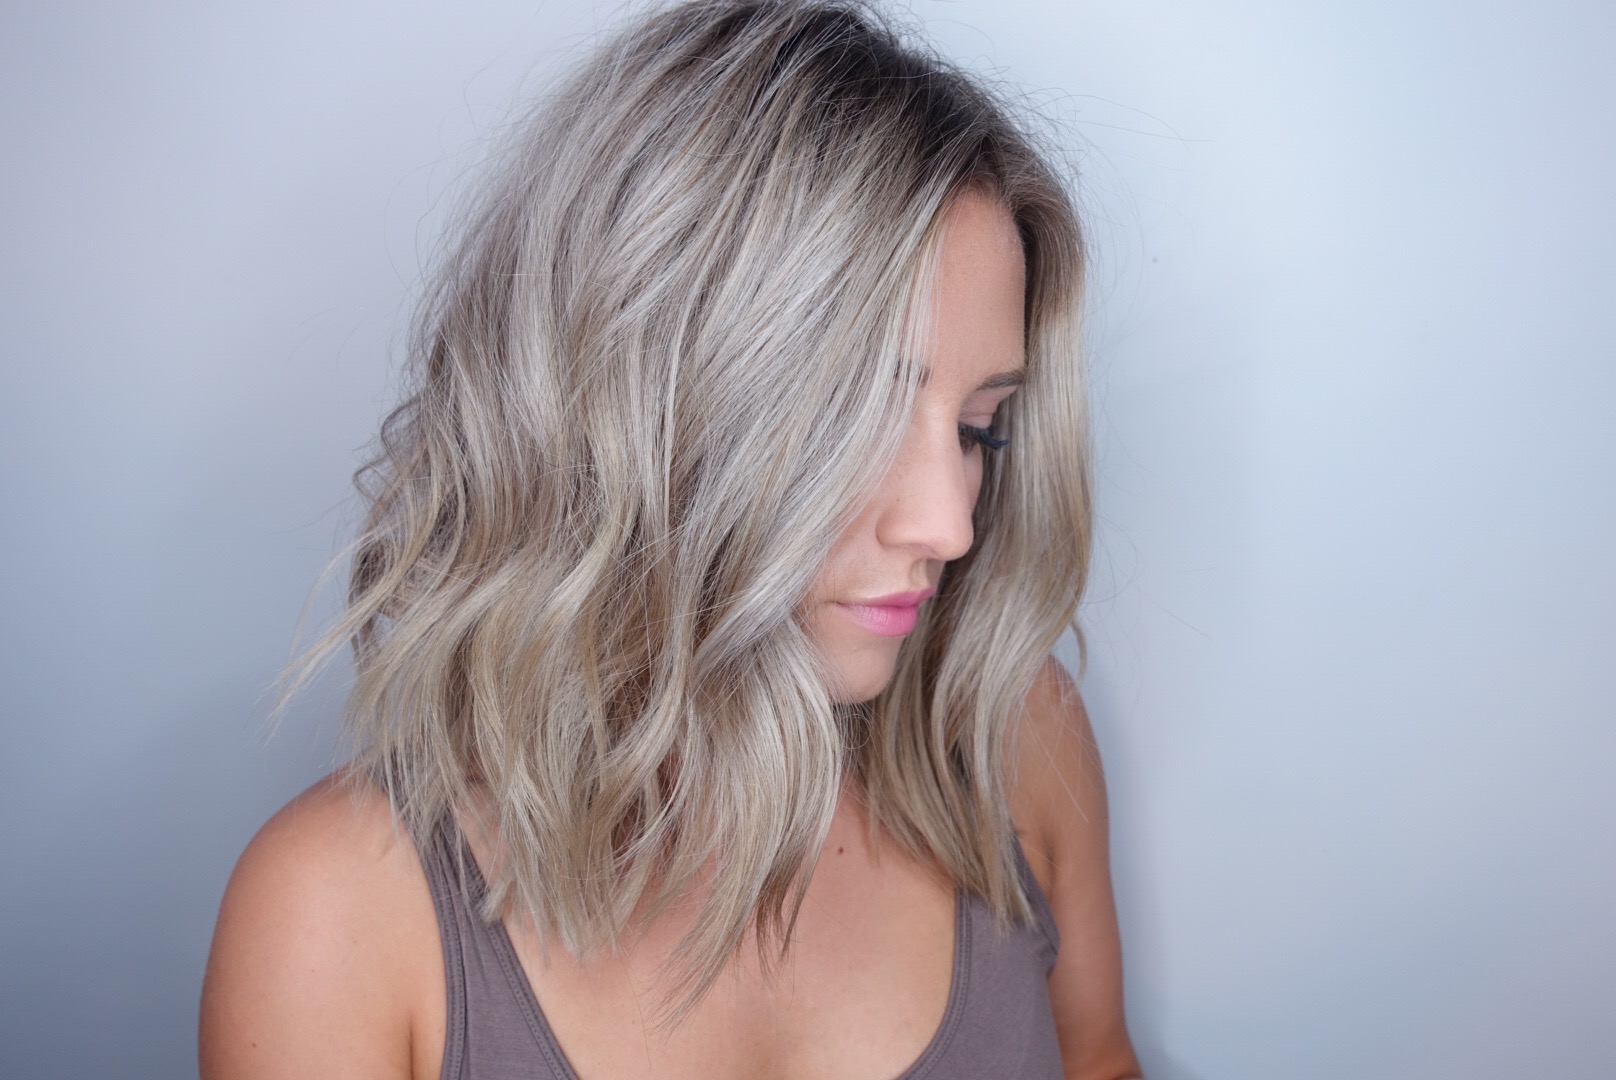
The most common question I get from not only clients, but other stylists is “how do you get those beach waves!?” I do teach a styling class on how to style your hair like this (as well as how to do a dutch braid). If you are interested in another class email me! In the meantime, I will tell you how I achieve this look:
- Divide hair into 3 sections; top (over part), middle (above ears), bottom (everything below ears).
- Using a 1.25 inch curling iron (not wand), take vertical sections of the bottom. Begin by clamping the middle of the piece and rolling upwards. Gently release the clamp and move the hair down the iron, but keep rolling to the top until you reach about 1 inch before the end of the hair. This is the key part… leave the end of the hair OUT.
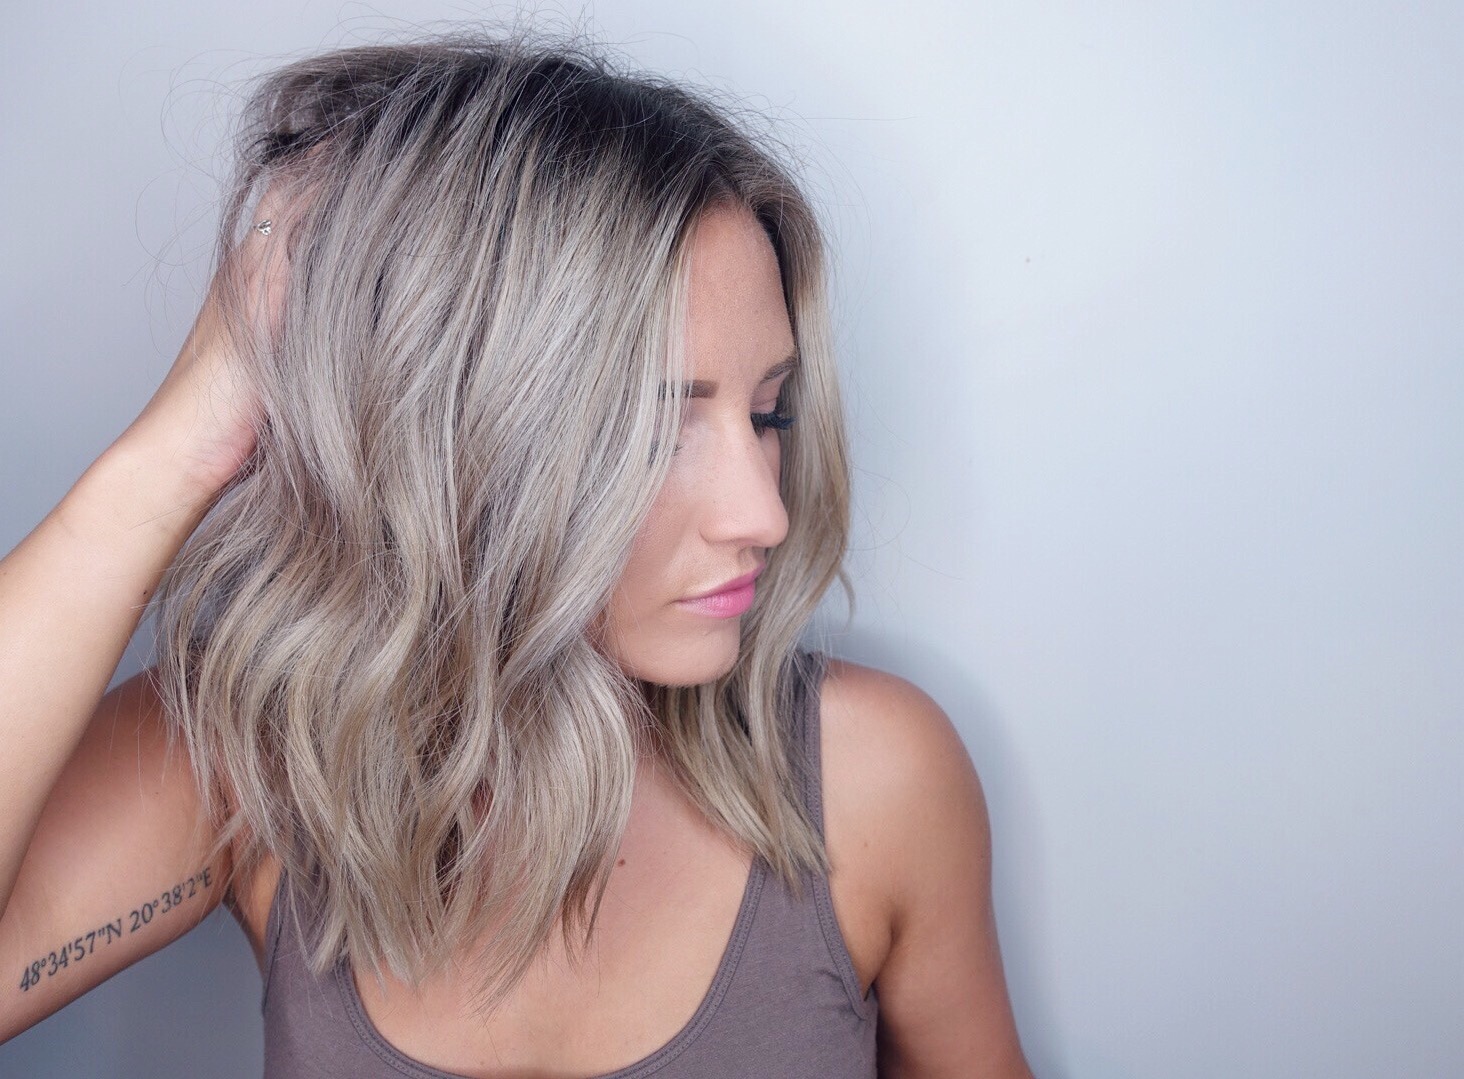
- Continue this in the bottom section then move to the middle. The hair directly at your hairline must be curled AWAY from your face. The easiest way to explain this is; face the clamp towards the mirror and roll it outwards from your face (on the right side you roll right, and left side you roll left).
- The next step is to ALTERNATE the direction of the curls. This is normally the most confusing step for people to grasp. SO, if you had the clamp facing the mirror in your last section, face the clamp behind you and roll the opposite direction, inwards towards your face. Alternating the direction of the curls is what gives it the textured and beachy look!
- Move onwards to the top section of your hair, and make to curl the hairline AWAY from your face (as explained in step 3).
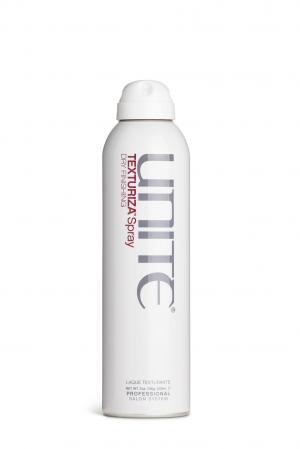
- Run your fingers through the curls and spray with texture spray! My favourite is Texturiza spray by UNITE.
Hopefully this gives you an idea as to how to get these beachy waves. Practice, practice, practice!