Lavendar Love

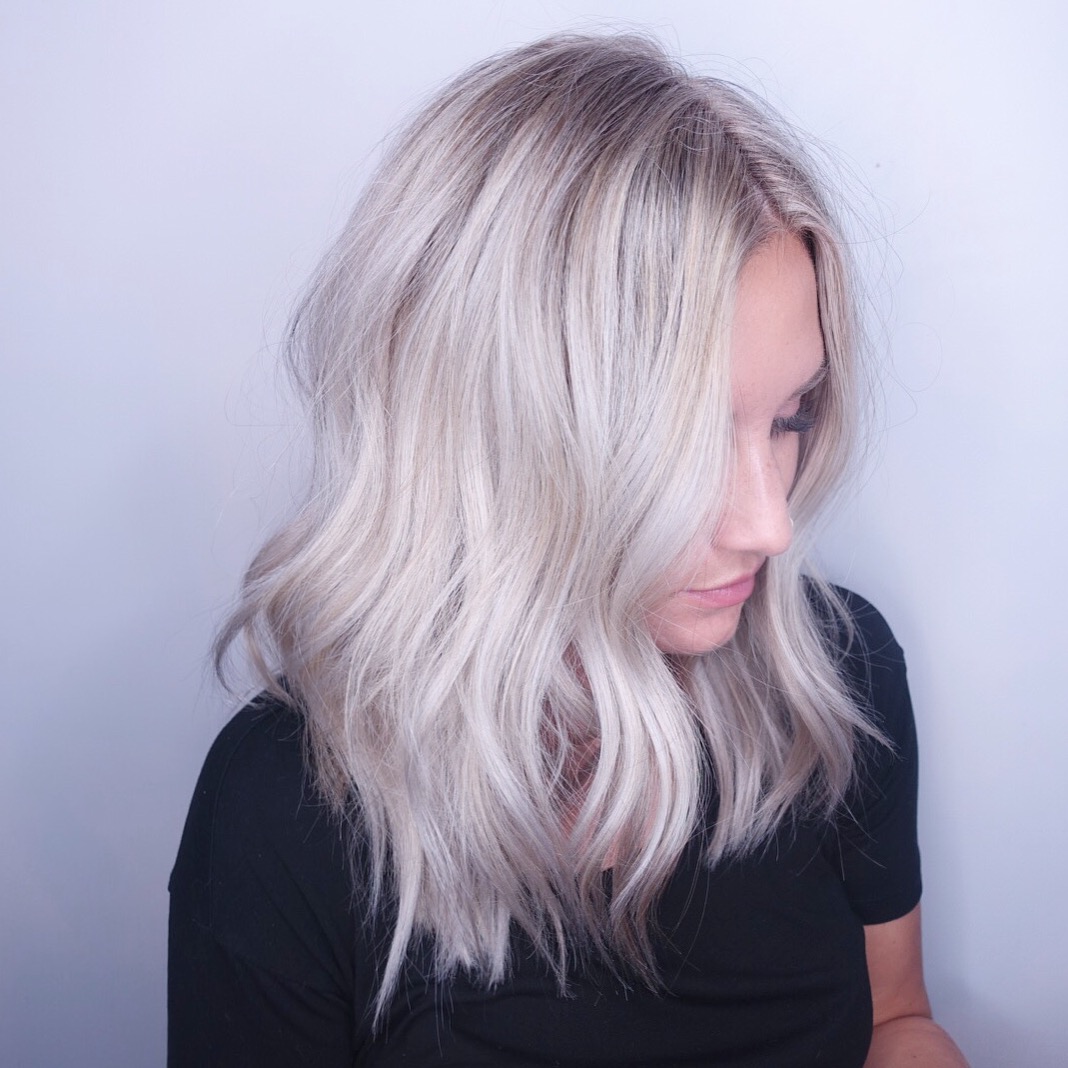
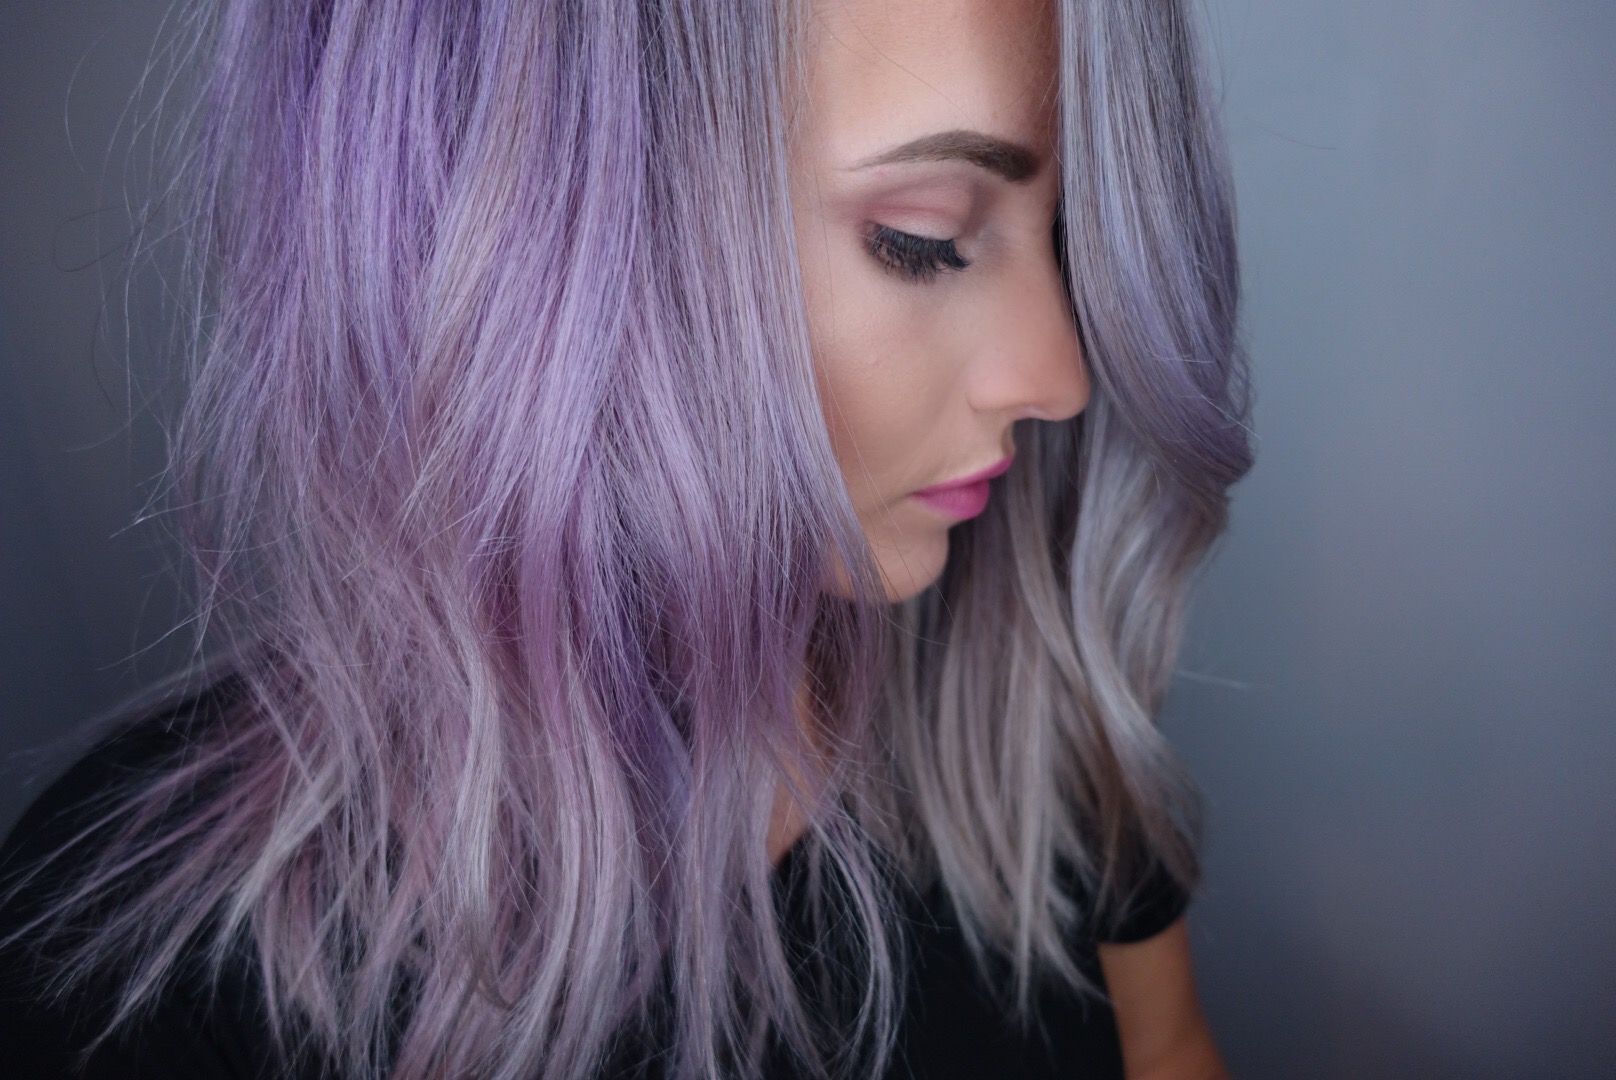
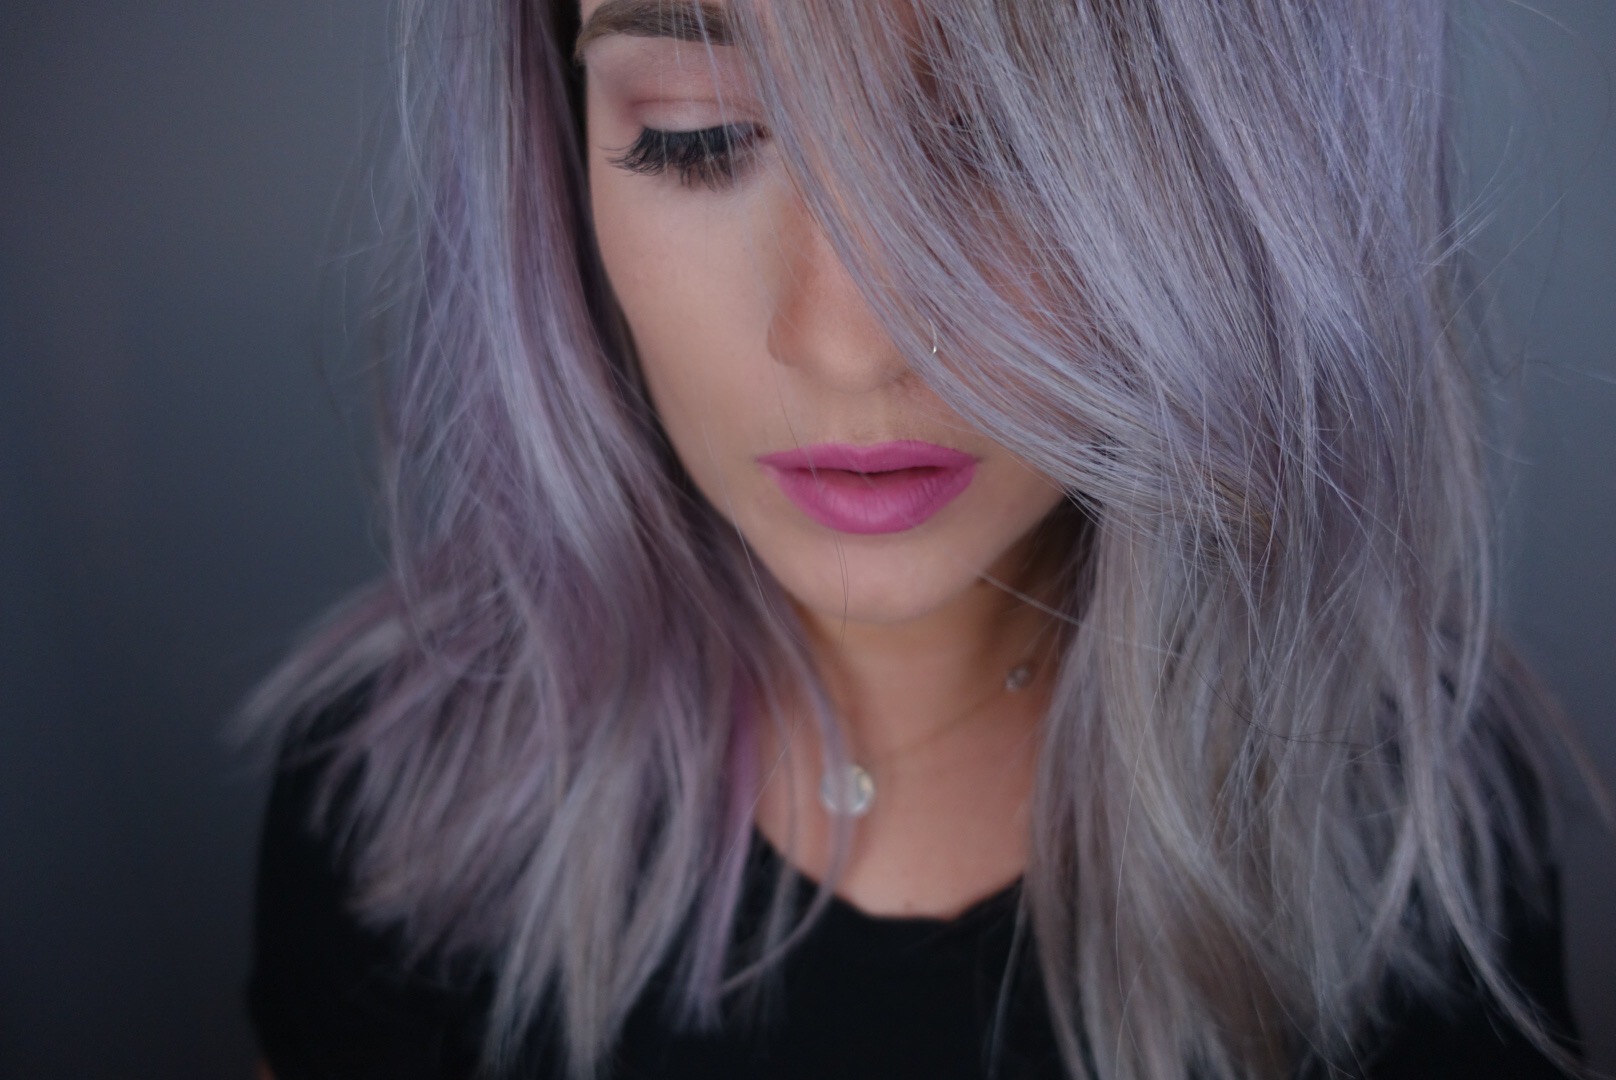
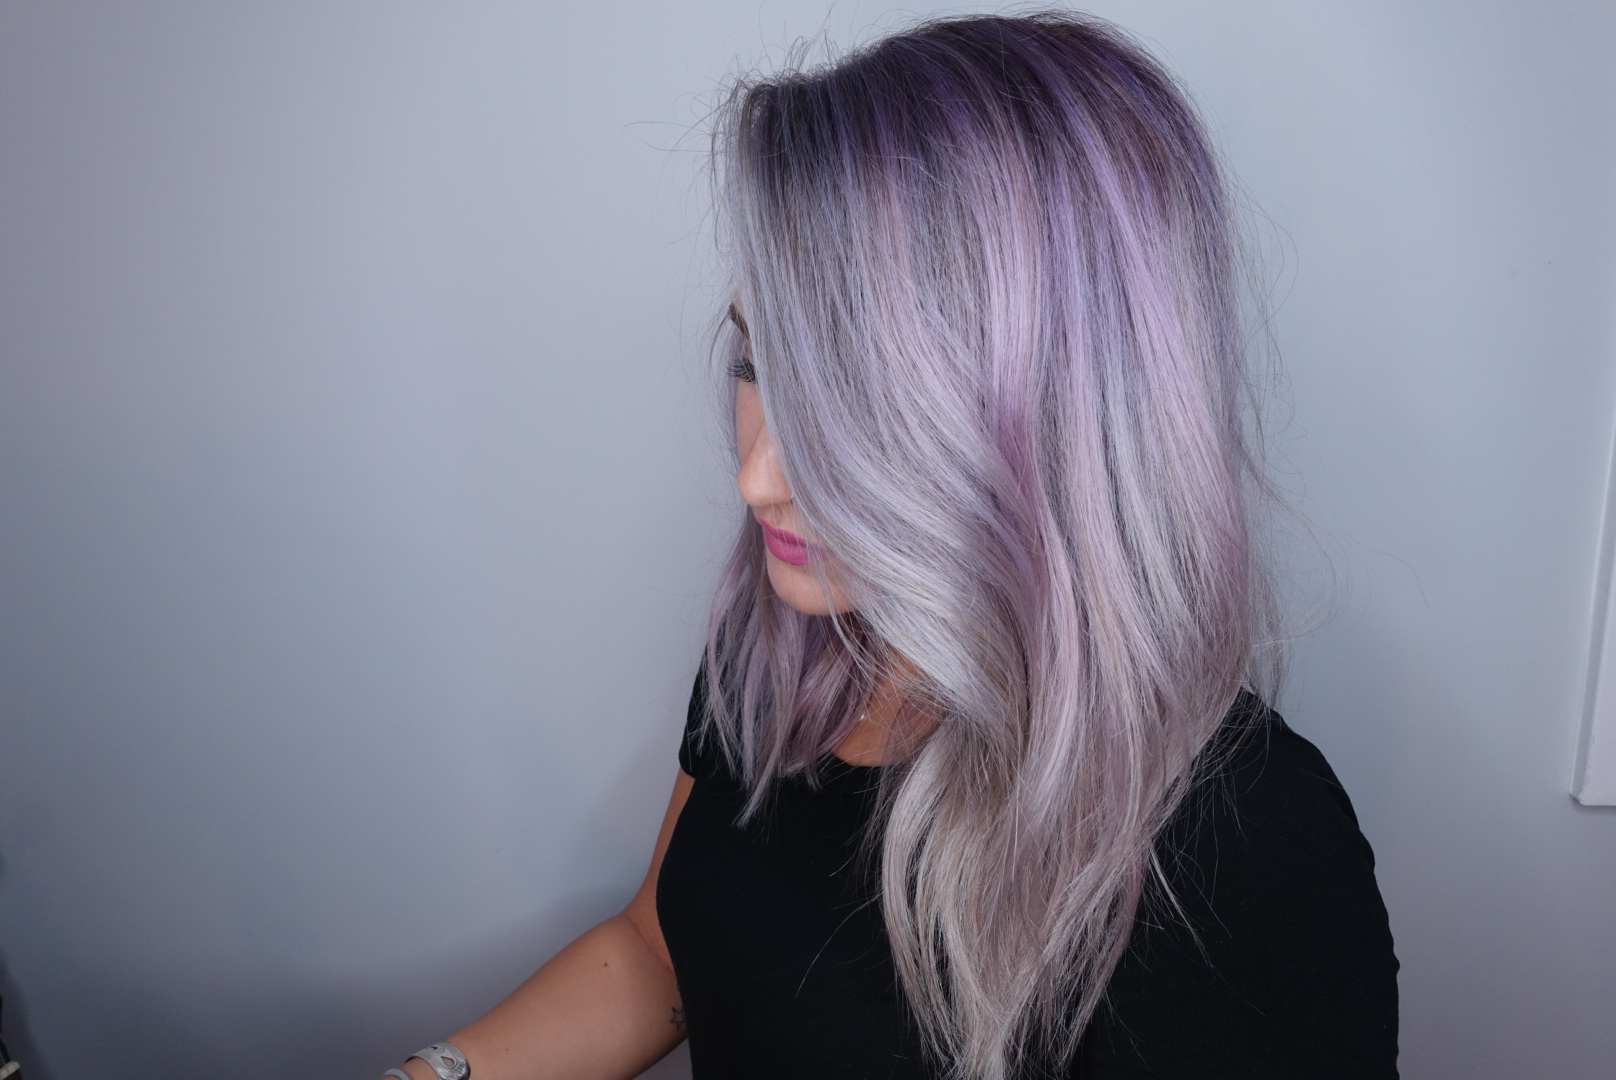
The purple hair color I recently did lasted only about 6 weeks. It was a silverly blonde with some left over purple/pink hues!

Today after work I decided to play around with the new Joico pastel colors!!! (Well, actually while my client was processing… I smudged some of the purple in and decided I would do more of it later). The joico pastel colors are awesome, and get this, they are SPARKLY! That’s right, the colors are FILLED with sparkles! I feel like my pillow case will be a sparkly mess tomorrow morning. Im into it. The colors remind me of my little pony. Here they are:

Screen-Shot-2016-01-20-at-12.25.59-pm

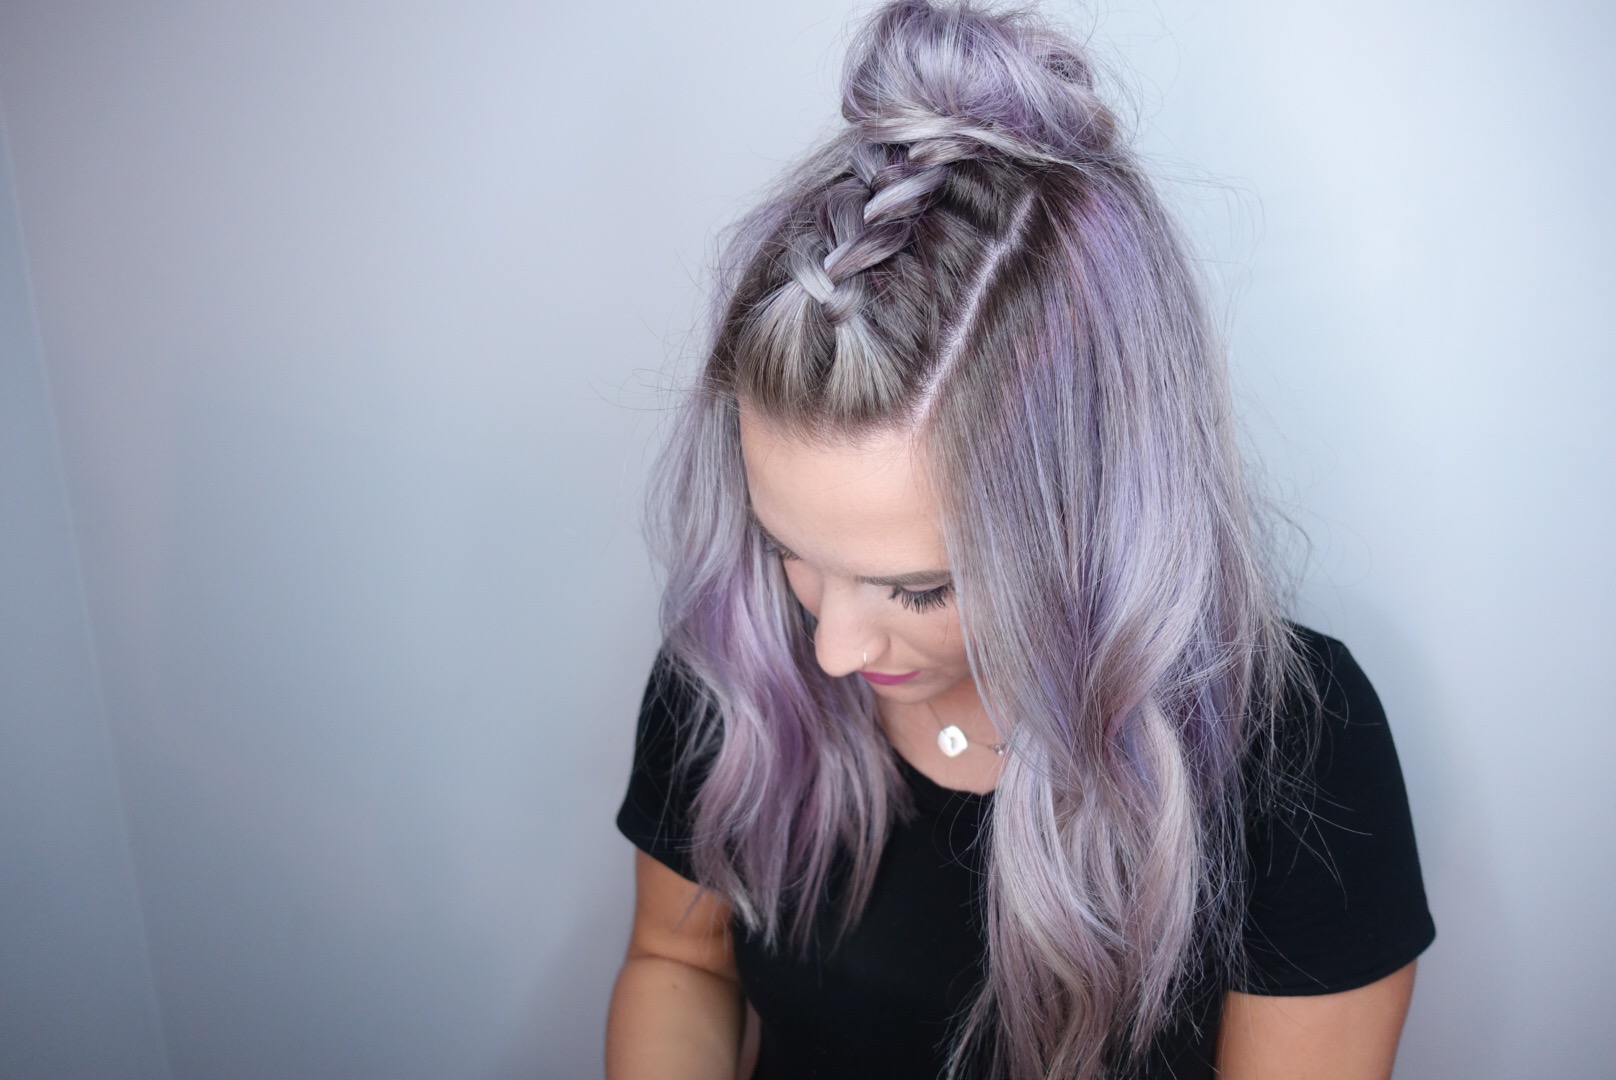
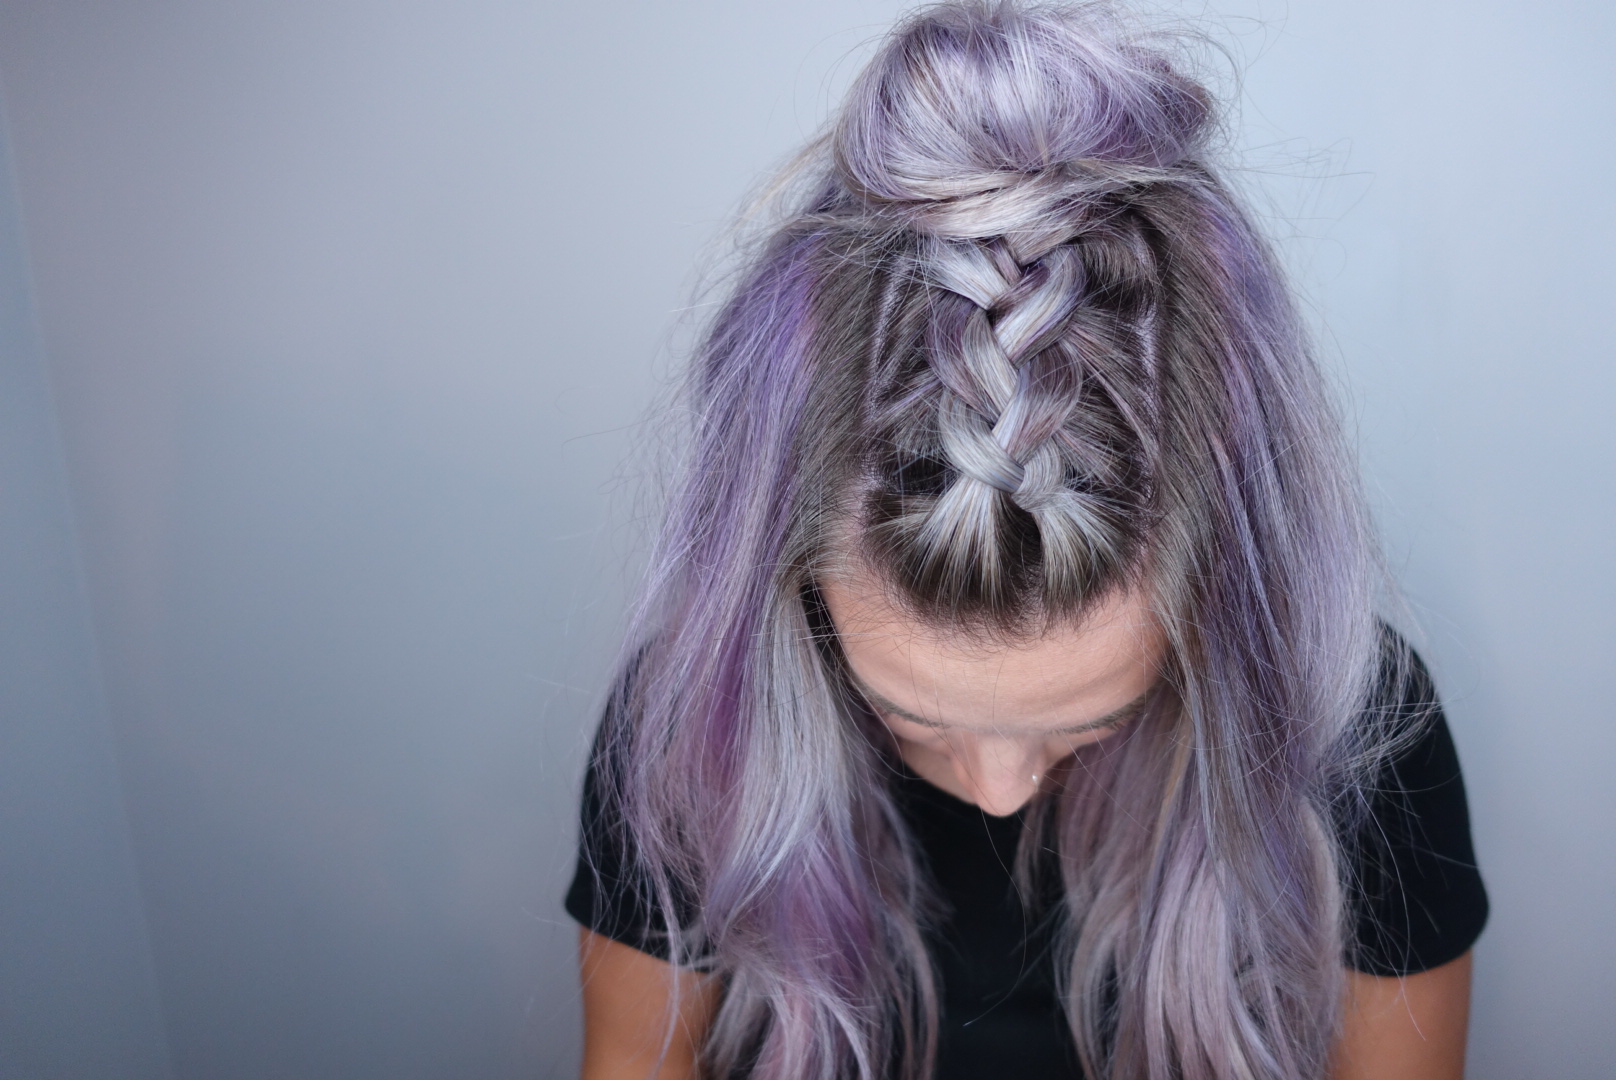
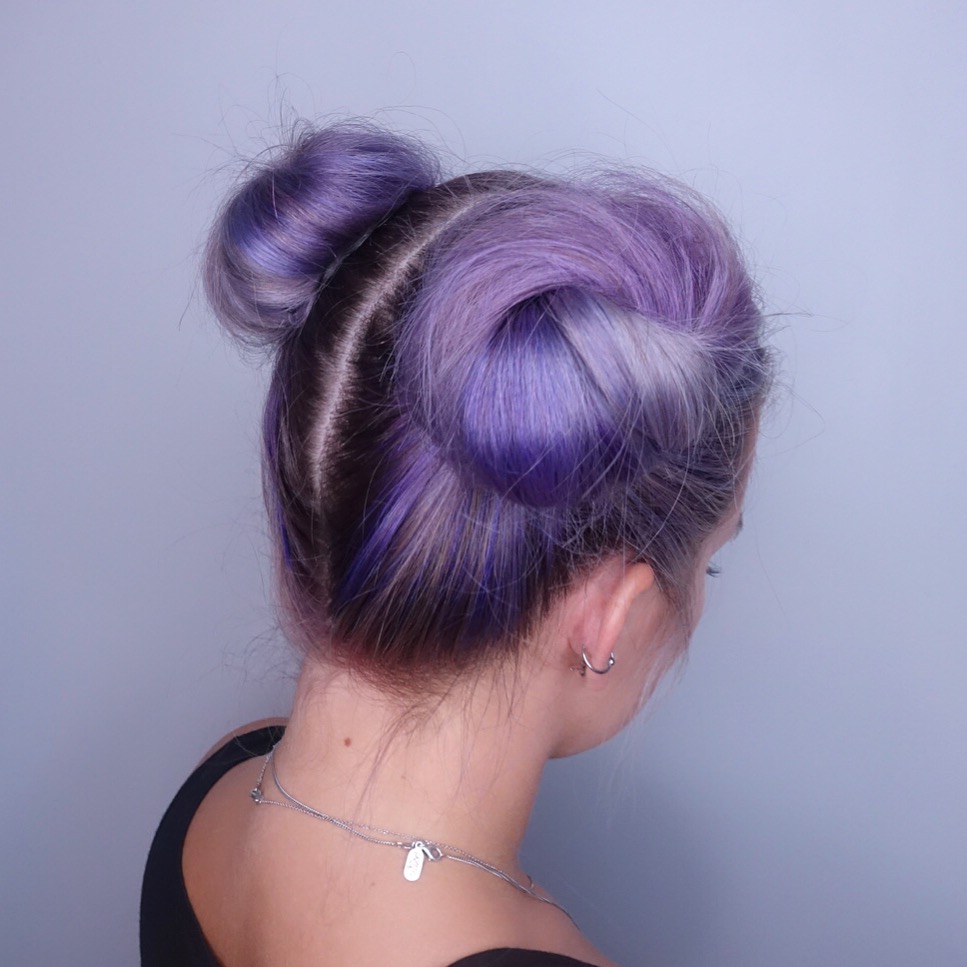
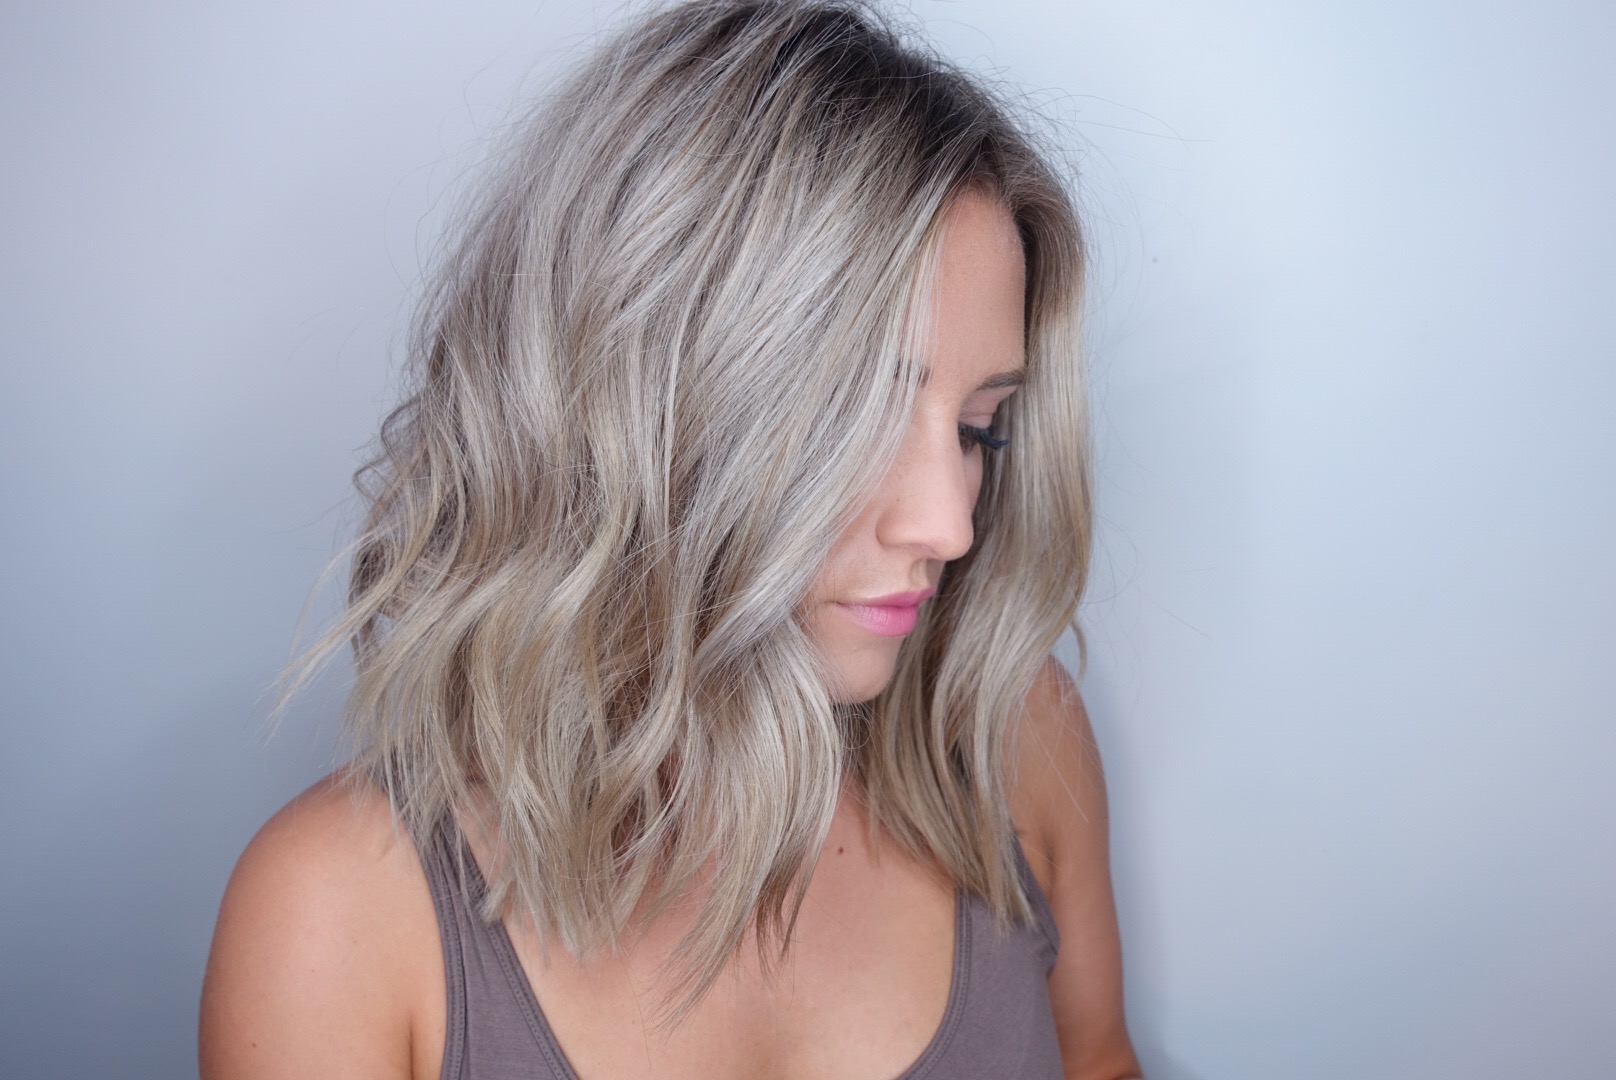
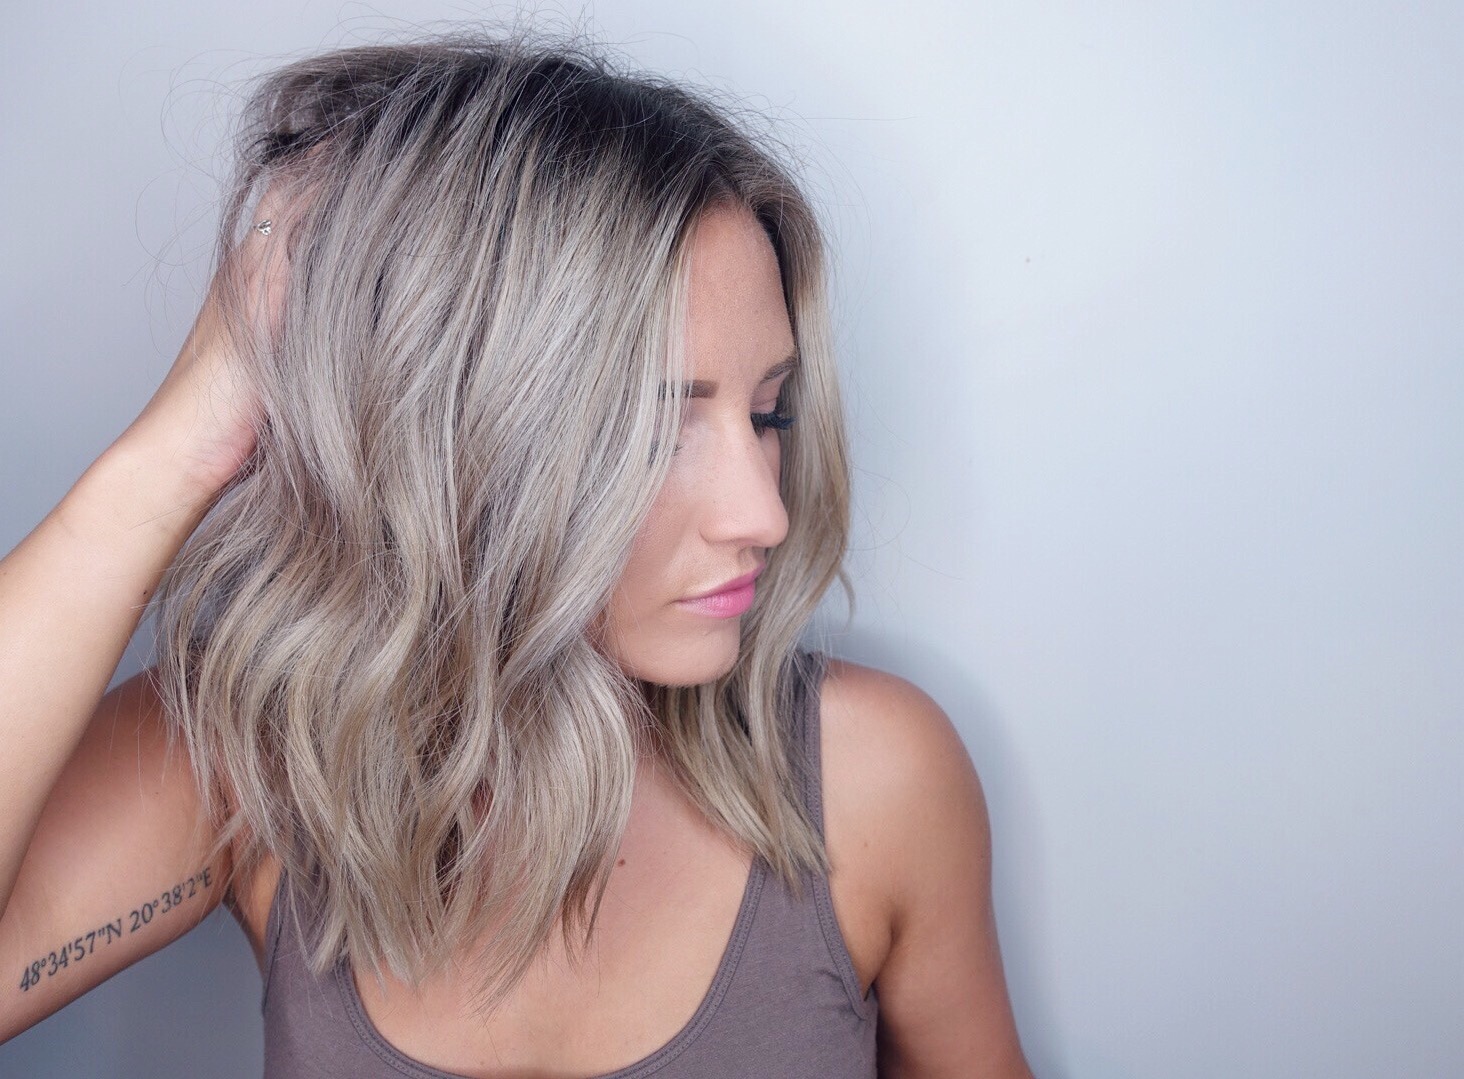
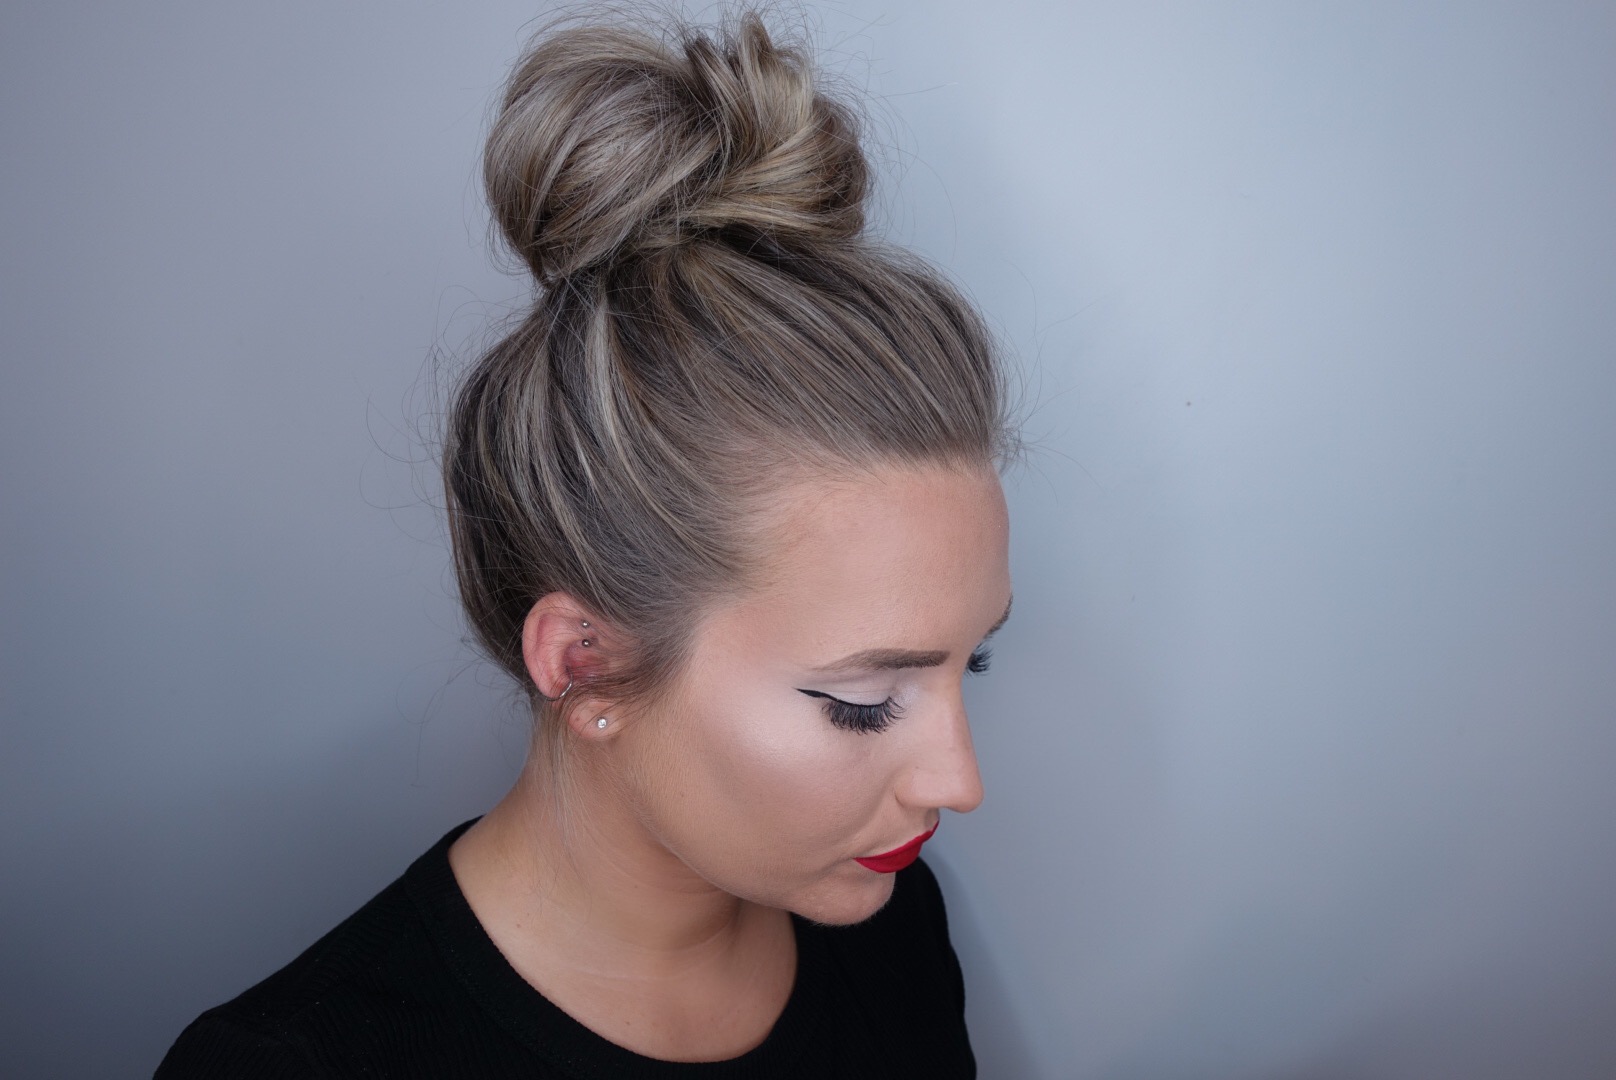
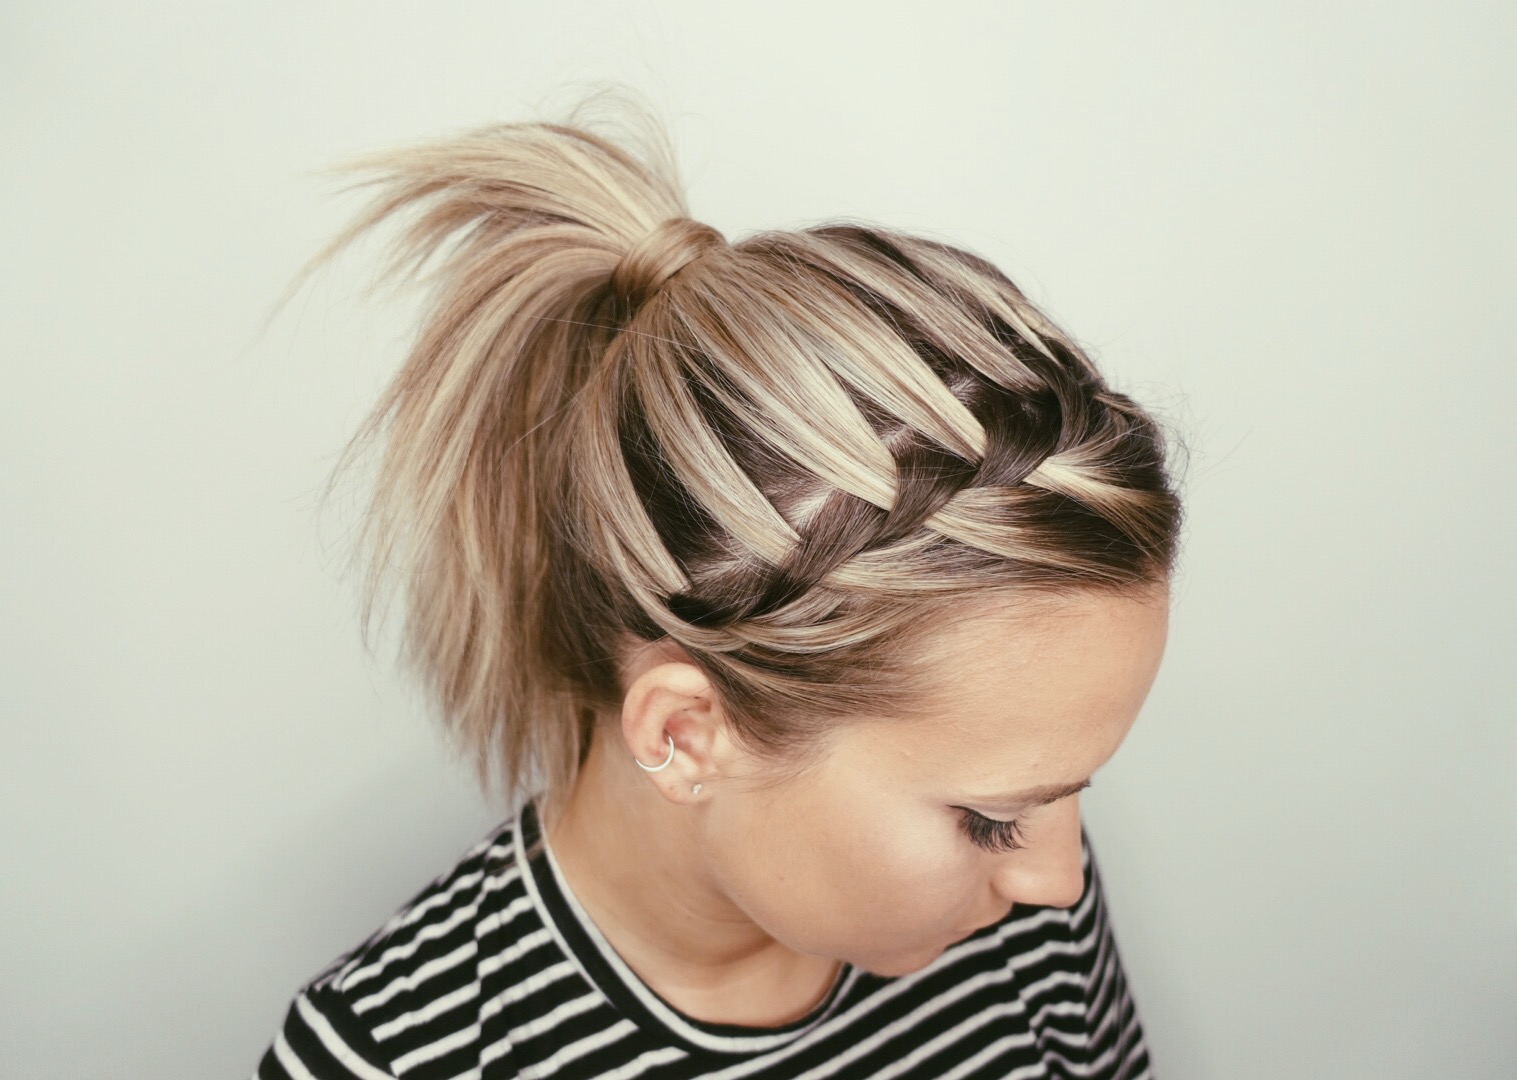
I tested a strand of the “sky” color too but didn’t like it. It would be pretty if it was mixed with “mint” I think, but only if applied to WHITE blonde hair. Sometimes blue or green colors on top of blonde with any remaining warmth (yellow tones) makes a nasty color. I’m kind of obsessing over the pastel color of my hair right now! Check it out! I used “lilac” and “rose”.

IMG_3957

IMG_3955IMG_3936

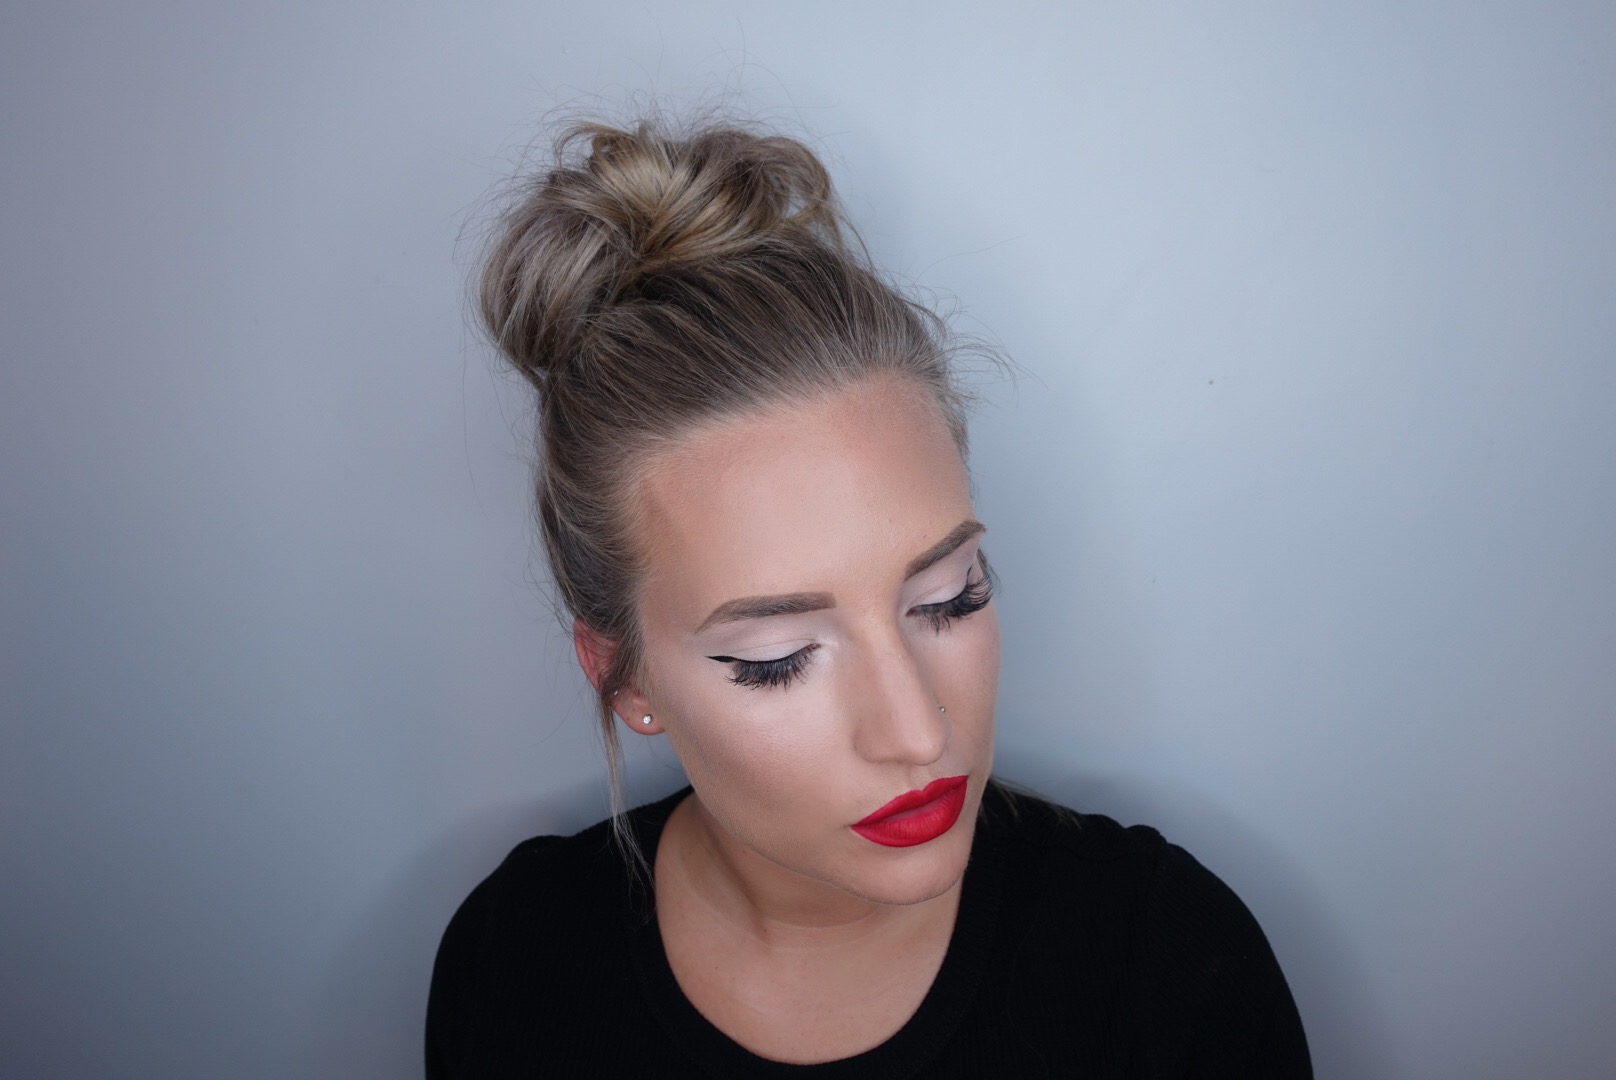
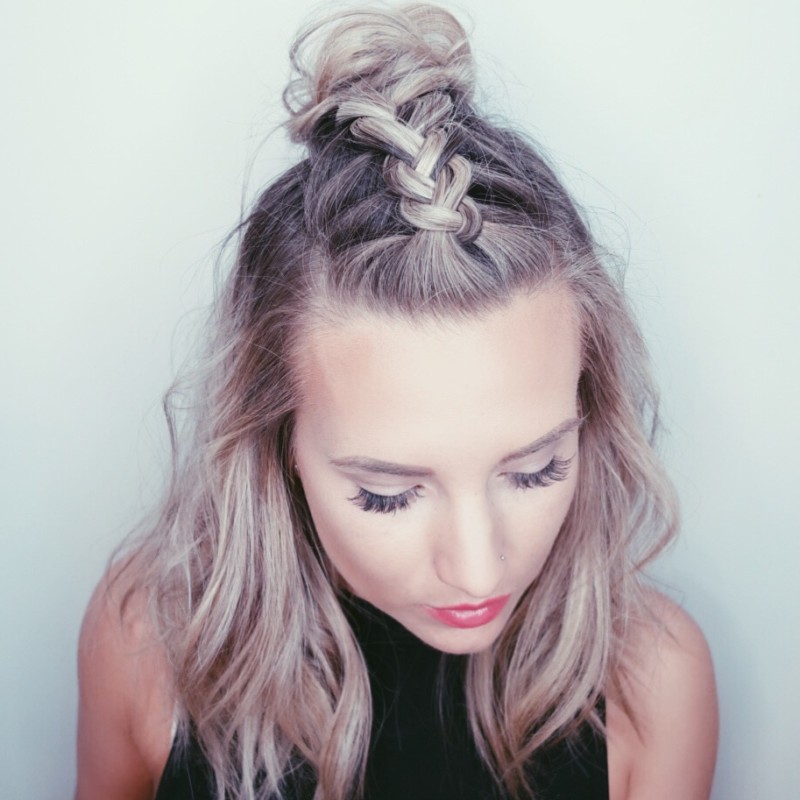
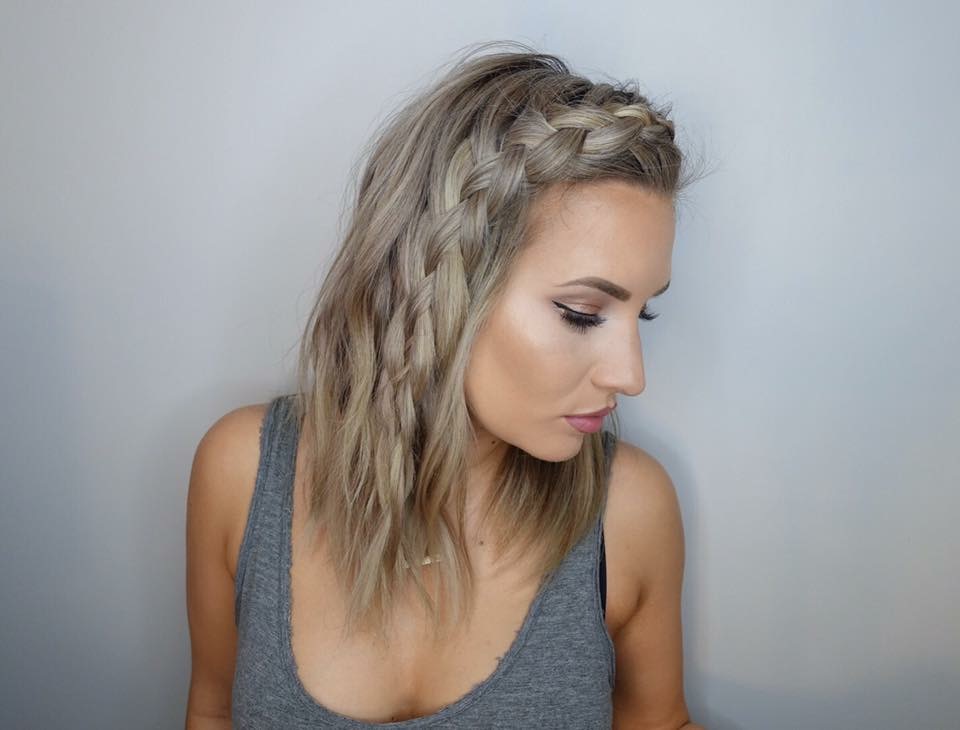
I LOVE pastel hair colors with braids. I actually made a “how to” video of this hairstyle, but my camera ran out of memory half way through. Stay tuned!!

IMG_3958

IMG_3950


Purple Haze

I recently decided to color my hair PURPLE! It isn’t the first time I have done this, but it is definitely the most purple I have ever done. I tend to get bored of being blonde pretty quick and want to try something different! The awesome thing about these fashion/vivid colors is they are temporary. Depending on how dark or diluted they are, they might last anywhere from a few weeks to several!

I used joico intensity colors in ‘Indigo’ mixed with ‘Titanium’, and diluted with conditioner. Joico makes a ‘clear’ for diluting darker colors, but I often used conditioner! If you are interested in doing a fun color like this, ask for a very pastel version which will only last 4/5 washes! The best part about these colors is each time you wash your hair, it is a new color!

I always tell my clients to wash their hair in COLD water. Hot water lets the color rinse out of your hair faster, so if you are trying to make your vivid color last longer, always use cold water!

image3


I decided to have a little fun and do some pigtail buns!!


image1

After this color fades what color should I do next ?!

Snow White

Finally! It has taken me quite some time to post on my website (I’ve gone travelling to Indonesia and been insanely busy with weddings and work!)

It was a long and torturous 6 months I waited to get my hair done… and the 5 hour process was worth it! My amazing and patient coworker Ashley (who has been doing my color for 4 years) made me into a snow white blonde!

Process:

  1. Back to back foils using wella blondor with 10, 20, and 30 vol & olaplex. Lifted to pale yellow.
  2. Rinse and olaplex number 2.
  3. Tone with Redken Shades eq 09V, 09T, 09P, crystal clear and process for 15 mins.

image4

Now I’m not going to lie, my hair took a bit of a beating lifting it this blonde. Thankfully I have olaplex at home, and use the take home treatment (sold for 30$/bottle at kharma) EVERY WEEK. I rarely blow dry my hair, and I use hot tools on it once a week or less.

If you are wanting/expecting a color like this, it isn’t cheap! It’s a long process, and you need to make sure you have the proper take home care to maintain it. PURPLE SHAMPOO is a must…. I prefer milkshake silver shampoo which costs around 25-30$. It is the only one that actually keeps my blondes looking bright and fresh!!!! It is a MUST for all my blonde clients. I usually recommend using it once/week (or every 3rd wash).

ms_silver_shampoo_300ml

HAPPY BLONDING!

Beach Waves

The most common question I get from not only clients, but other stylists is “how do you get those beach waves!?” I do teach a styling class on how to style your hair like this (as well as how to do a dutch braid). If you are interested in another class email me! In the meantime, I will tell you how I achieve this look:

  1. Divide hair into 3 sections; top (over part), middle (above ears), bottom (everything below ears).
  2. Using a 1.25 inch curling iron (not wand), take vertical sections of the bottom. Begin by clamping the middle of the piece and rolling upwards. Gently release the clamp and move the hair down the iron, but keep rolling to the top until you reach about 1 inch before the end of the hair. This is the key part… leave the end of the hair OUT.
  3. Continue this in the bottom section then move to the middle. The hair directly at your hairline must be curled AWAY from your face. The easiest way to explain this is; face the clamp towards the mirror and roll it outwards from your face (on the right side you roll right, and left side you roll left).
  4. The next step is to ALTERNATE the direction of the curls. This is normally the most confusing step for people to grasp. SO, if you had the clamp facing the mirror in your last section, face the clamp behind you and roll the opposite direction, inwards towards your face. Alternating the direction of the curls is what gives it the textured and beachy look!
  5. Move onwards to the top section of your hair, and make to curl the hairline AWAY from your face (as explained in step 3).
  6. Run your fingers through the curls and spray with texture spray! My favourite is Texturiza spray by UNITE. Unite-Texturiza

Hopefully this gives you an idea as to how to get these beachy waves. Practice, practice, practice!

IMG_0981IMG_0978

Messy bunday


Messy Bun’s are honestly my “go-to” hairstyle. If you’re a busy person like myself, you don’t have time to wash… blowdry… and style your hair every single day. Messy buns are so quick and easy! However… sometimes they can look sloppy, so if I am going to wear my hair like this I usually throw on a bold lip and eyeliner to dress it up. (Lipstick is Kat Von D liquid lipstick – Underage Red)

I actually went for a run and workout earlier today… but thanks to the magic of dry shampoo you would never know! My favourite brand of dry shampoo is Batiste (6.99 on sale at london drugs). It doesn’t leave my hair feeling sticky like other brands, and it comes in a bunch of different scents! 16986876

I spray it on my roots, usually wait 1 or 2 minutes then rub it in with my fingers… and voila! Fresh (clean) hair!IMG_1117

IMG_1122

Waterfall Braid

I’m always trying to find new ways to ‘spice’ up a regular ponytail, and lets face it, braids are the best way to do it. I got this idea from @anniesforgetmeknots https://www.instagram.com/p/BEhLd0JtokT/?taken-by=anniesforgetmeknots&hl=en. It’s a classic waterfall braid, but done vertically across your bangs instead of horizontal down the side. I love the way it looks with the colors in my hair! (sometimes having roots isn’t such a bad thing).

How to get this look

  1. Create a vertical parting across the front half of your hair. Pull the rest of the hair back into a pony tail and secure with an elastic.
  2. Grab a section of hair to start the braid and divide into 3 pieces.
  3. Start a regular french braid (left to right), but every time you move to the next section, clip the back piece of hair out of the way, and grab a new piece of hair from underneath as the NEW back piece.
  4. Continue to add hair to the front pieces, always cliping away the back pieces and grabbing new hair from under.

(If this is confusing watch the link above)

It’s essentially the same as a regular waterfall braid, except you are adding hair to the front pieces and leaving the back ones out, whereas in a regular waterfall braid you add hair to the back pieces and leave the front ones out!


Festival Hair

Processed with VSCO with p5 preset

As we all know festival season is coming up. That means getting your braids, sparkles, and flash tattoos ready. Coachella kicked off festival season with some awesome and fun styles!

This look was Coachella inspired!

How to get this look

  1. I started off with dirty hair, and used a 1.25 inch curling iron to create loose beachy waves.
  2. I sprayed Batiste dry shampoo throughout my roots, and Unite Texturiza spray throughout the mids and ends.
  3. I created two partings going backwards from my hairline about 4 inches apart. Then I started a dutch braid backwards and secured with an elastic.
  4. I then took the ends of the pony tail and created a fishtail braid.
  5. Finally I pulled the sides of the braid and loosened it, wraped it around the elastic and secured with a bobby pin! voila!Processed with VSCO with p5 preset